
 Today's robot is a robot able to identify the Lego Technic pieces (beams) both by size and by color. It is a very interesting robot to explore and to understand its functions, thanks to the beautiful design and instructions provided by Kenneth R. Madsen!
Although this robot can only identify beams, after analyzing its structure, it is easy to know how to make it into something more complex, like a sorter. Unfortunately, I could not do that due to the low number of pieces that were left over, after building it; but those who have more pieces than those that come on the set may well try to reach that goal!
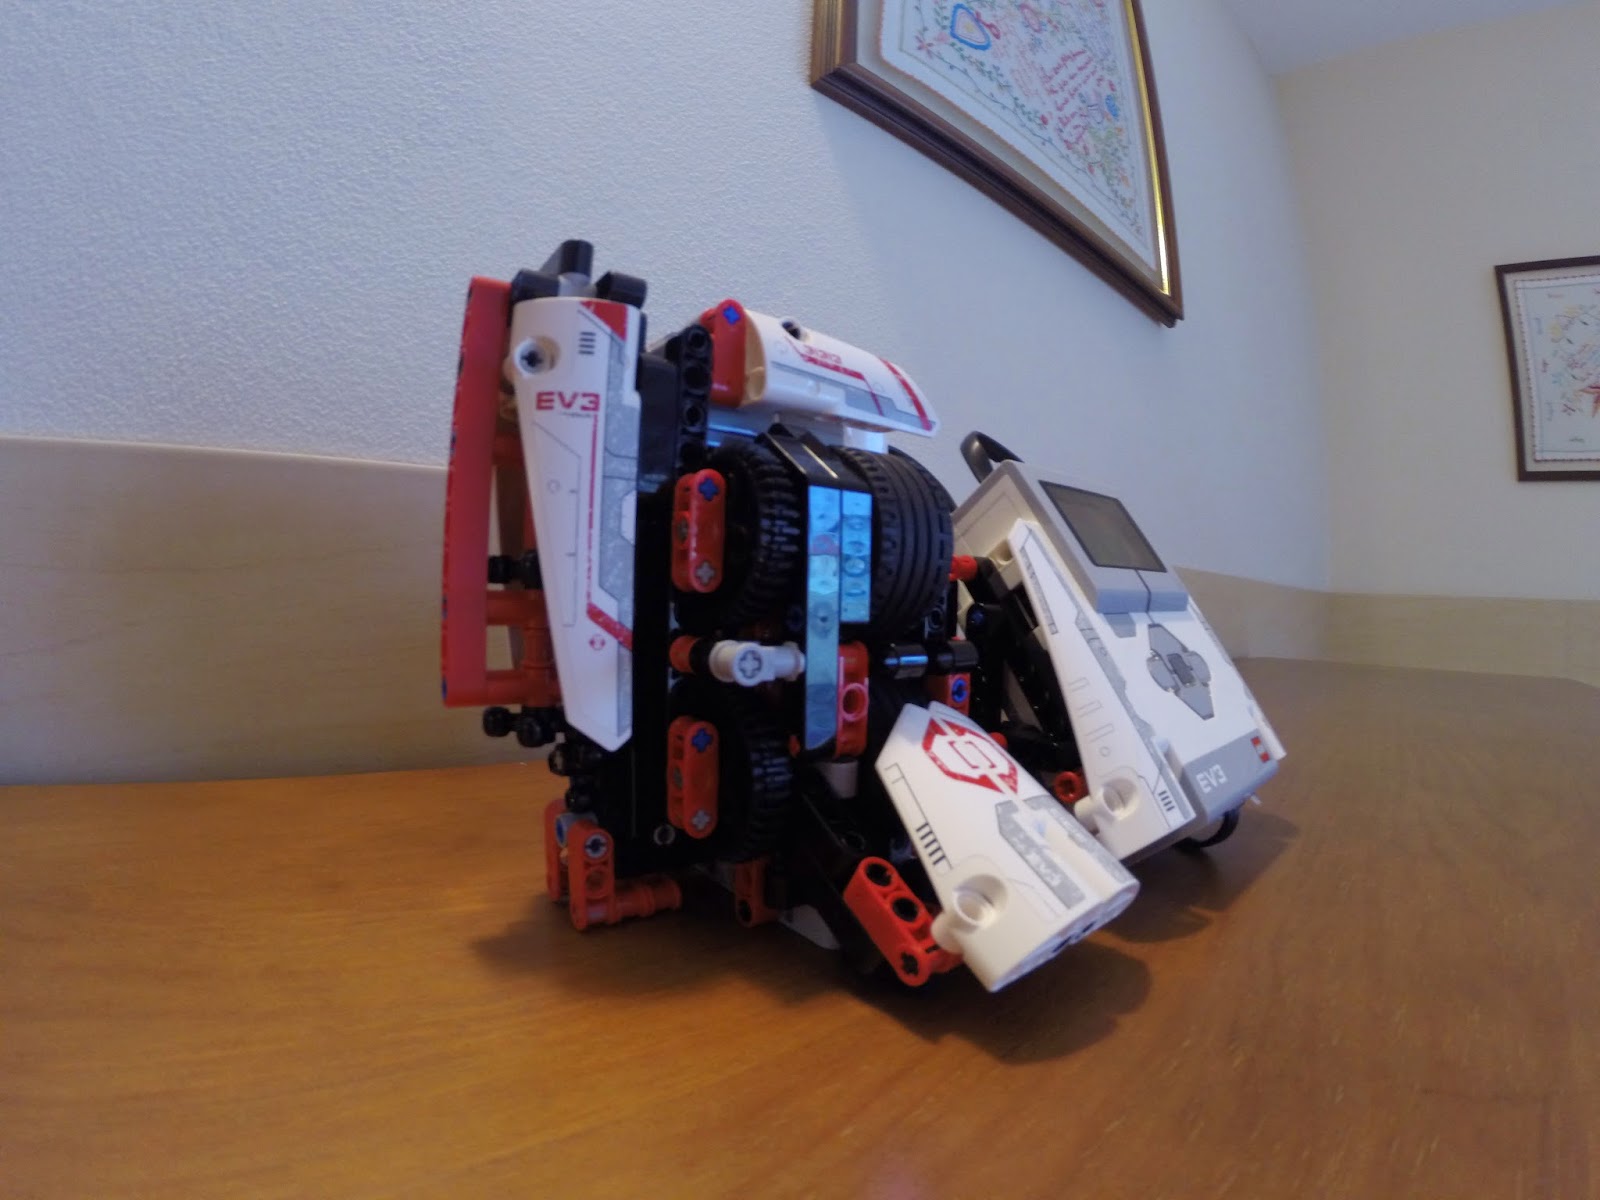
This robot is composed mainly of two parts. The first, which is where the analysis of the pieces occurs, and the second, where it is the support structure to the intelligent brick.
To conduct the analysis, the beam is introduced into a small space between two wheels that are spinning and, literally, eat the beam! To know the size and the color it is only used the color sensor / light sensor, and the movement of the beams is allowed by the medium motor.


The program is one of the most complex that appeared here on the blog! The main part is the analysis of the size and color, and then printing these data on the intelligent brick's display. When you press the center button of Intelligent Brick program is "activated" and the wheels start spinning, ready to suck the beam and analyze it. It detects its beginning when the intensity of the light measured by the light sensor decreases. Thereafter the angles are counted as the motor rotates, until the intensity of light returns to normal, meaning it has reached the end of the beam. On its way back, when the motor advances the workpiece to half the calculated length, its color is analyzed, and then "expelled" out of the robot.
These two values are stored in variables, where later, the value of the angle of the motor's rotation is tested and converted to the size of these beams (5L, 7L, 9L, 11L, 13L, 15L) being printed on the display along with the respective color. Notice that I started on 5L since using the smaller beams, it will "choke" and the it must be disassembled to remove the little beam from there!
We can now see a part of the code where the pieces are analyzed.

If you liked this message about Mr. BEAM comment and subscribe to the blog! Take a look at the other posts and stay tuned for the next! Thank you!
PARA VERSÃO PORTUGUESA DE MR. BEAM!
Sem comentários:
Enviar um comentário
Se tiver alguma dúvida não esite em perguntar nos comentários